
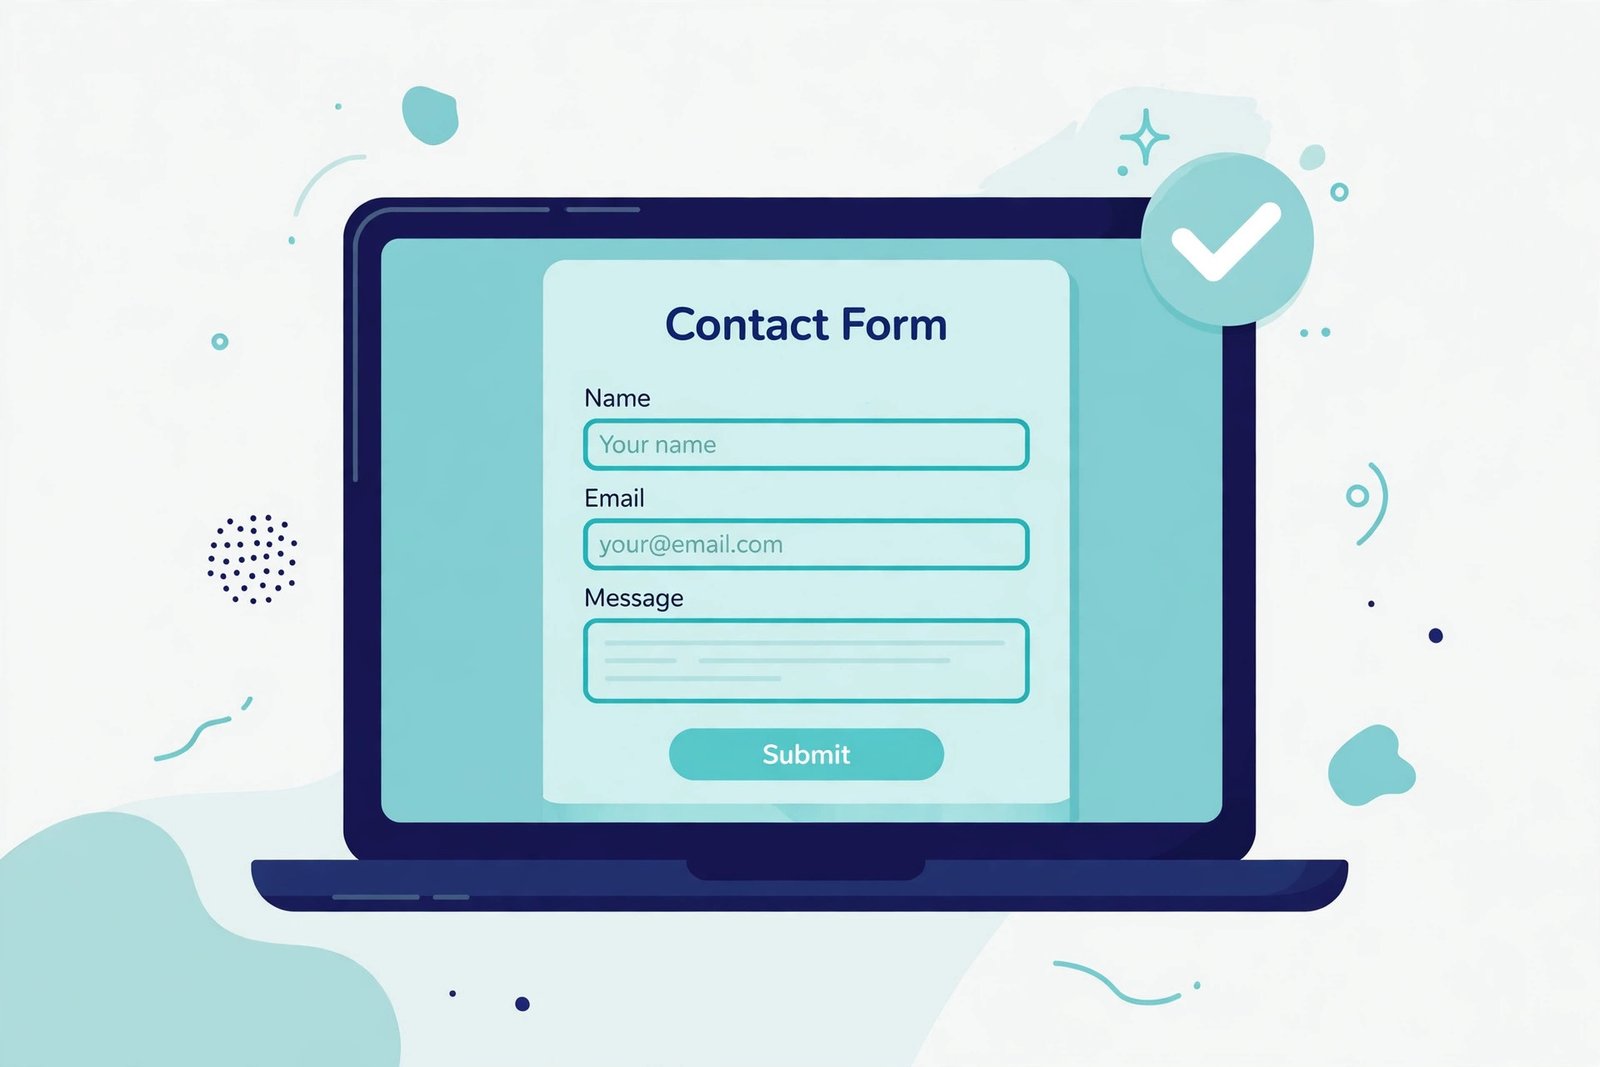
A contact form looks like the simplest part of a website. A few fields, a button, done. But in a Figma to Webflow conversion, forms are where small design decisions turn into real problems: submissions that never arrive, spam flooding the inbox, and visitors who give up halfway through.
Here is how to rebuild Figma forms in Webflow, from the fields themselves to validation, spam protection and working submissions.
1. What a Figma form actually is
In Figma, a form is a picture of a form. The designer draws the fields, the labels, the button and the success message, and the prototype may even show a filled-in state. None of it does anything. There is no submission, no validation and no error handling — because Figma is not a browser.
That matters because a Figma file usually shows only the happy path: a clean, empty form and a tidy success message. The states a real visitor meets — a field left blank, an email typed wrong, a submission that fails — are rarely designed at all.
Before the build starts, agree on three things: where do submissions go, who reads them, and what happens after a visitor submits? A form without those answers is decoration, not a working part of the site.
2. Rebuilding the fields in Webflow
Webflow has a proper form element, and the conversion should use it rather than rebuilding fields from plain inputs. It gives you the structure — fields, labels, a submit button and a success message — and handles the submission itself.
- Match the labels exactly. If Figma says “Your name” and “Work email”, keep those words. Labels are part of the design and part of the trust a visitor places in the form.
- Keep the field order from Figma, unless the order is wrong. Name, email, message is the standard order for a reason. Asking for a phone number before a name feels pushy and puts people off.
- Use the right field types. An email field should be an email input, a phone field a telephone input, and a longer message a text area. The right type gives the visitor the right keyboard on a phone and lets the browser do basic checking for free.
- Do not add fields Figma did not design. Every extra field lowers the number of people who finish the form. If the business wants more information, collect it after the first reply, not before it.
3. Validation that helps instead of annoying
Validation is the part of a form most often skipped in conversion, and the part visitors notice most. A form with no validation accepts anything, including a one-letter name and an email address without an “@”. A form with bad validation blocks real people.
- Mark required fields clearly. A small asterisk next to the label is enough, and it should be there from the start, not revealed only after a failed submission.
- Give error messages that say what to do. “Enter a valid email address” is useful. “Invalid input” is not — it tells the visitor nothing about what to fix.
- Do not clear the form on a failed submission. Nothing is more frustrating than retyping a long message because one field was wrong. Keep every field as it was and highlight only the problem.
Good validation is invisible most of the time.
4. The success message and what happens next
The success message is the most neglected part of a converted form, because Figma usually shows it as a single quiet line. On a live site, it is the moment the visitor decides whether the business is responsive or not.
- Confirm clearly that the message was received. “Thanks — your message has been sent. We will reply within one working day.” tells the visitor what happened and what to expect.
- Set the expectation honestly. Do not promise a reply within an hour if the real answer time is a day. A realistic promise builds more trust than a fast one that is broken.
- Keep the visitor on the page. A success message that replaces the form in place is better than a redirect to a new page, which feels like being sent away.
Test the success message with a real submission, not just in the designer.
5. Spam protection without blocking real people
A published Webflow form will attract spam. Bots fill in contact forms constantly, and a form with no protection will flood the inbox within days of launch. But heavy protection drives real visitors away, so the balance matters.
- Start with Webflow’s built-in spam filtering. It catches much of the obvious bot traffic without asking the visitor to do anything.
- Add a honeypot field if spam continues. This is a hidden field that real visitors never see and never fill in; a bot fills it in, and the submission is rejected. It costs the visitor nothing.
- Use a CAPTCHA only when needed. A visible challenge on every submission annoys real visitors and hurts conversions. Reserve it for forms that are being actively spammed.
If the inbox suddenly fills with spam after launch, that is a sign the form needs attention, not a sign that forms do not work.
6. Testing the form before launch
A form is only finished when a real submission has travelled the whole path: from the visitor’s browser to the inbox or tool where it is read. Testing it in the designer is not enough.
- Submit the form yourself, on desktop and on a phone. Check that the success message appears and that the submission arrives where it should.
- Test the failures too. Submit with a blank required field and with a bad email address. Each one should produce a clear, helpful response.
- Test again after any change. Moving a form to a new page, changing its destination, or editing a field can break the submission silently. A form that looks fine and sends nothing is the worst kind of bug.
Add the form to the launch checklist, and test it once more on the live site on launch day. It takes two minutes and catches the one bug that costs enquiries.
FAQ
Can a Figma form be imported directly into Webflow?
No. Figma has no export for forms, so the fields, labels and button are rebuilt as a Webflow form element during the conversion. The Figma design is the reference for how it should look; Webflow provides how it works.
Where do Webflow form submissions go?
By default, submissions go to the Webflow site settings, where they can be viewed and forwarded by email. They can also be sent to another tool, such as a CRM, through an integration. Decide the destination before the build, not after launch.
Do Webflow forms need a CAPTCHA?
Not always. Webflow’s built-in spam filtering handles most bot traffic, and a honeypot field deals with the rest in many cases. Add a CAPTCHA only if a form is being actively spammed — it adds friction for every real visitor too.
Final thoughts
A form is a small part of a website, but it is the part that turns a visitor into an enquiry. In a Figma to Webflow conversion, the design is the easy half; the work is in the fields, the validation, the success message, the spam protection and the testing. Get those right and the form quietly does its job for years. Skip them and the prettiest form on the site sends nothing at all.
And if you would rather have the conversion handled properly — a clean Figma to Webflow build where the forms are rebuilt, tested and working — get a free quote and we will take it from there.