
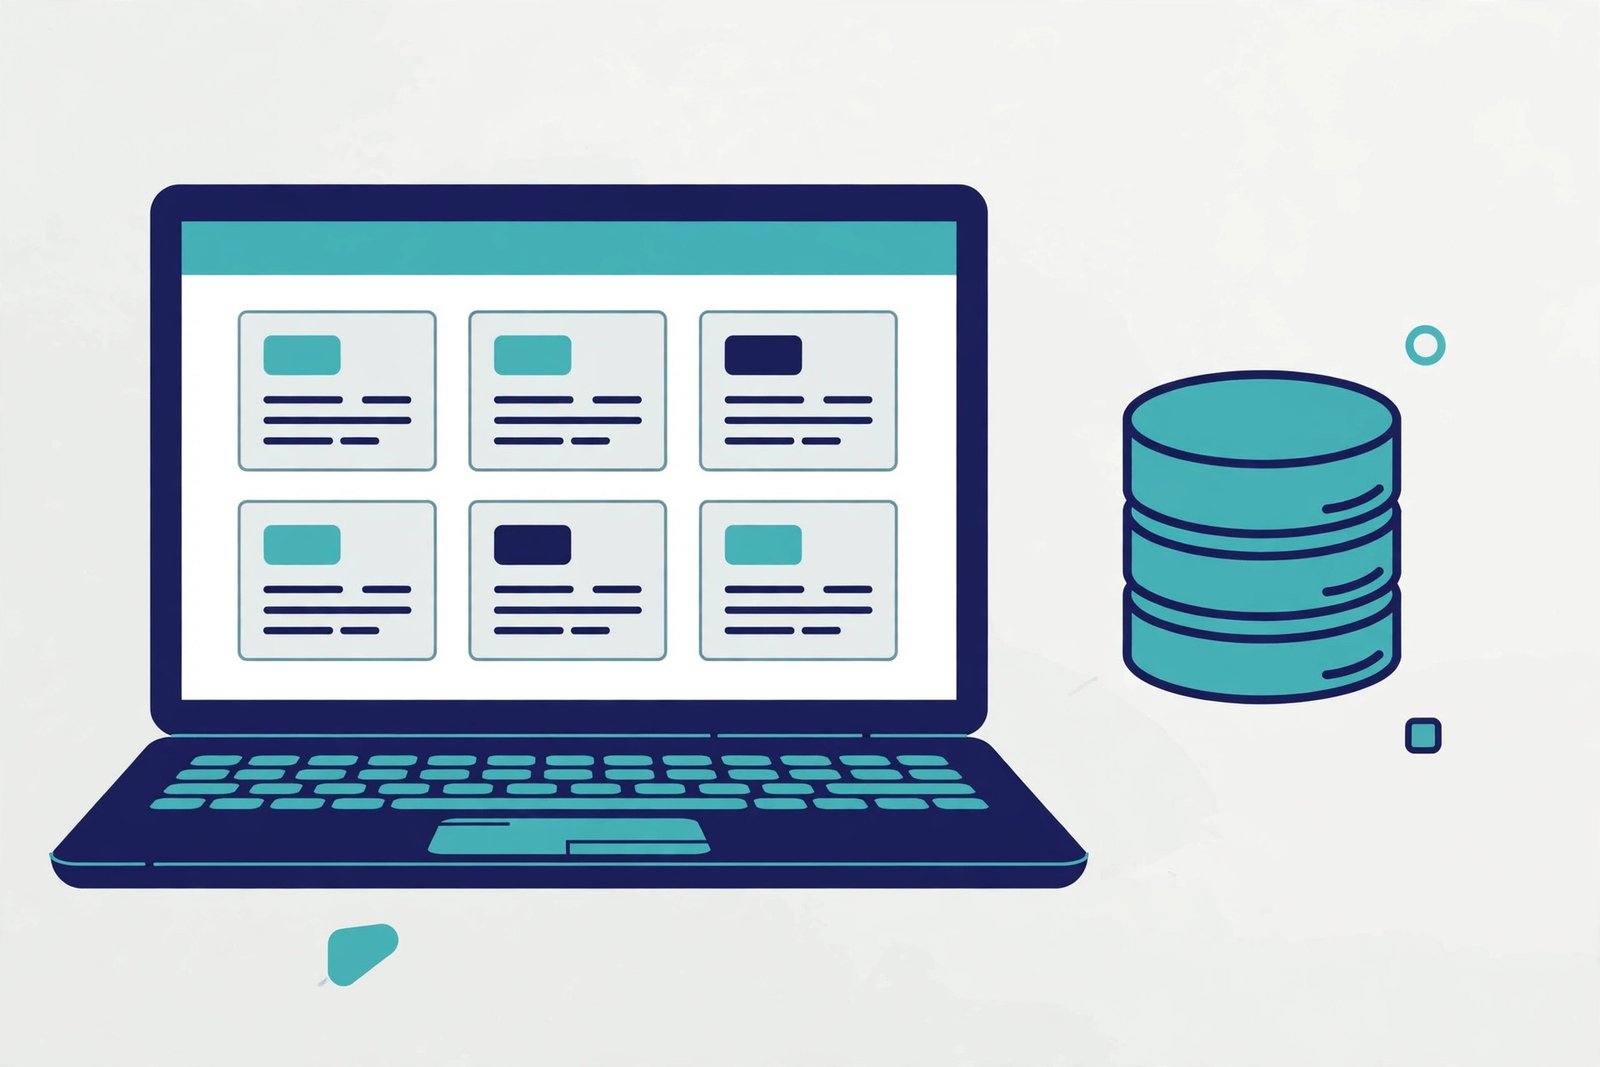
A Figma design is a set of fixed screens. A blog page shows three specific articles, a team page shows four specific people, and a case-study page shows one specific project. In a Figma to Webflow CMS conversion, those fixed screens become templates that fill themselves with real content — so the client can add a new article, a new team member or a new project without touching the design.
Here is how a Figma to Webflow CMS build works in practice.
1. What the CMS changes in a conversion
Without a CMS, every page in Webflow is built by hand. A blog with twenty articles means twenty pages, each one laid out separately, and every change has to be made twenty times. With a CMS, the designer builds one template page and Webflow fills it with a different article each time.
The Figma file does not show any of this. It shows the finished pages, not the system behind them. So the first job is to look past the screens and find the repeating patterns: which pages are really the same layout with different content, and which parts of each page change from one item to the next.
A good rule is simple: if a page is repeated more than twice with different content, it belongs in a collection. Blog posts, team members, services, case studies and job listings are the usual candidates.
2. Collections: the content behind the design
A collection is a structured list of items that share the same fields. A blog collection might hold a title, a cover image, a publish date, a category and the article body. A team collection might hold a name, a role, a photo and a short bio.
- Map the collection to the Figma design first. Every element on the Figma screen should match a field in the collection, or be part of the fixed template. If something on the screen has no field, it cannot change per item.
- Keep fields plain and honest. A text field for a name, an image field for a photo, a date field for a publish date. Clever field types that nobody understands will be filled in wrongly within a month.
- Decide what is required before the build. If every blog post needs a cover image, make the image field required. A template with a missing image looks broken.
3. Template pages: one design, many pages
Once the collection exists, the template page is built from the Figma design of a single item — one blog post, one team member, one case study. The layout, spacing and styles come from Figma exactly as they would on a static page. The difference is that the text, images and links are connected to collection fields instead of typed in by hand.
- Build the template from the busiest example in Figma. A blog post with a long title, a large image and several sections is a better test than the shortest one. If the template holds up with the hardest content, it will hold up with the rest.
- Check the empty states. A team member without a photo, a post without a category, a case study without a client quote — the template should still look right when a field is empty, because sooner or later one will be.
- Keep the template clean. Anything that is the same on every item — the header, the footer, the newsletter box — belongs in the template itself, not in the collection.
4. Lists and filtering: where the CMS earns its keep
A single template page is only half the story. The other half is the list pages: the blog index, the team grid, the case-study archive. These are built from the same collections, using list elements that repeat a small card design for each item.
- Design the card in Figma, then connect it. A blog card usually shows the cover image, the title, the date and the category. Each of those is a field, pulled from the same collection as the template page.
- Sort deliberately. Newest first is right for a blog, but alphabetical is usually right for a team page, and a featured flag is better than either when some items matter more than others.
- Add filtering where the list will grow. Categories on a blog, departments on a team page, services on a case-study archive.
5. The editor: what the client actually touches
The part of a Figma to Webflow CMS conversion that decides whether the client is happy is the editor — the simple interface where they add and edit content after launch. Webflow’s editor lets them change text and images on the live site, and add new collection items through a form.
- Keep the editor simple. If the client only needs to add blog posts, show them the blog collection and nothing else. Every extra option is a chance to break something.
- Write help text into the fields. A short note under a field — “Used on the blog card, keep under 60 characters” — is worth more than a training call, because it is there every time the field is used.
- Test the handover with a real task. Ask the client to add a blog post themselves before launch day. Whatever confuses them in that test is what needs fixing.
6. Common CMS conversion mistakes
Most Figma to Webflow CMS problems come from treating the CMS as an afterthought — something bolted on after the static pages are built.
- Building static pages first and converting them later. Rebuilding twenty static blog pages as one template costs more than building the template from the start. Decide which pages are collections before the build begins.
- Too many collections. A separate collection for every small list — testimonials, logos, FAQs — quickly becomes hard to manage. Some lists are better as simple content on a static page.
- Fields that mirror Figma too literally. Figma shows a title split across two lines for style; the CMS should hold one title field, and the template should handle the styling.
FAQ
Can any Figma design use the Webflow CMS?
Almost any design with repeated pages can. Blogs, team pages, service listings, case studies and portfolios are the obvious fits. A site with only a handful of unique pages may not need a CMS at all.
Does the CMS slow a Webflow site down?
No, when it is used well. Webflow generates the collection pages as fast static pages. Problems come from oversized images or too many items on one list page, not from the CMS itself.
Can the client break the design from the editor?
They can change the content, but not the design. The editor lets them edit text, swap images and add new collection items. It does not let them move sections, change fonts or edit the layout, so the design stays as built.
Final thoughts
A Figma to Webflow CMS conversion is not about adding a feature. It is about turning a set of fixed screens into a site the business can grow on its own. The design stays exactly as Figma drew it, but the content becomes something the client controls — new posts, new people, new projects, added in minutes instead of waiting for a developer.
And if you would rather have the conversion handled properly — a clean Figma to Webflow build where the CMS is planned, built and handed over ready to use — get a free quote and we will take it from there.