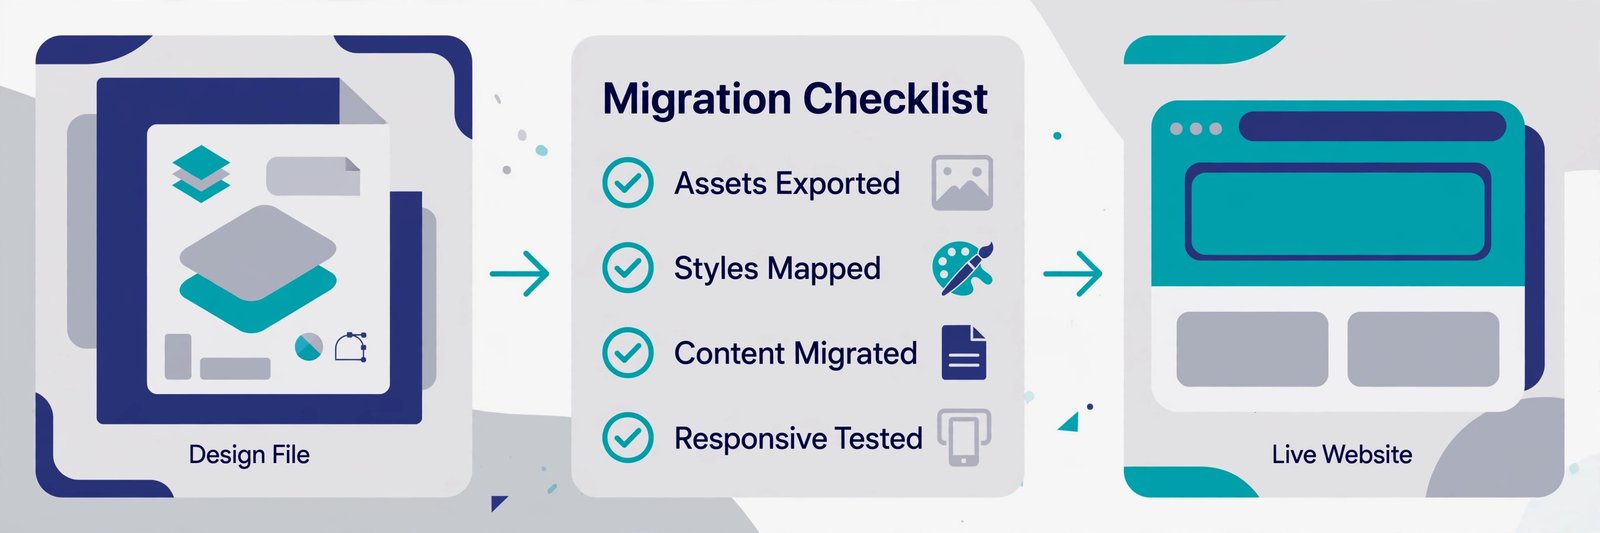
Moving a website from Adobe XD into WordPress is not just a copy-and-paste job. The design, the content, the images, the links and the search settings all have to move together, or the new site can launch looking right but working badly. A clear checklist keeps that move organised, and it helps you spot problems before visitors do.
This checklist walks through an XD to WordPress migration step by step, from preparing your design file to checking the live site after launch. It is written for business owners and marketing teams planning a rebuild, and for anyone who wants to brief a developer properly. If you would like help with the build itself, see our Adobe XD to WordPress service page and our WordPress services page.
Before you start: gather everything in one place
Most migration delays come from missing files, not from the build itself. Before work begins, collect everything the developer will need, and agree who owns each item.
- The final XD file, with all artboards, assets and fonts clearly labelled
- A list of every page on the current site, including pages that are not in the main menu
- Login details for hosting, the domain and the current website (shared securely)
- Brand assets: logo files, colours, fonts and image licences
- A note of anything that must not change, such as phone numbers, booking links or legal pages
1. Audit your XD file first
A clean design file makes a cleaner WordPress build. Go through the XD file artboard by artboard and check that every screen is final. Look for placeholder text that was never replaced, images that are still low resolution, and screens that exist in the design but have no matching page on the live site, or the other way round.
Also check the responsive behaviour. XD artboards often show desktop first, so confirm how each section should look on tablet and mobile. Note where a multi-column layout should stack, where text should resize, and where a menu should become a mobile menu. These decisions are much cheaper to make now than after the site is built.
2. Map your content and pages
Write a simple page map before the build starts. List each page, its URL, its purpose and whether it stays, changes or is removed. This map becomes the plan for redirects later, and it stops useful pages being lost in the move.
- Keep: pages that bring enquiries, rank in search, or answer common questions
- Update: pages with outdated copy, images or offers
- Merge: two thin pages covering the same topic, combined into one stronger page
- Remove: pages with no traffic, no purpose and no links pointing to them, redirected where needed
3. Plan how the design translates to WordPress
WordPress builds from reusable blocks and templates, so the design needs to be read that way. Identify repeated elements such as headers, footers, call-to-action sections and testimonial layouts, and treat them as shared components rather than one-off designs. That keeps the site consistent and easier to edit later.
Confirm fonts and colours early. Check that the fonts in the XD file are licensed for web use, and agree the exact colour values. Small differences here are a common reason a finished site feels slightly off compared with the design. The same applies to button styles, spacing and image shapes: agree them once, then apply them everywhere.
4. Prepare images, media and forms
Export images at the size they will actually display, and compress them before upload so pages stay fast. Give files clear names and add alt text that describes the image, which also helps accessibility. Check every form on the site: contact forms, quote forms and newsletter sign-ups all need testing, including where submissions go and what confirmation the visitor sees.
- Replace stock placeholders with final images
- Check videos: where they are hosted and whether they slow the page down
- Test every form, including error messages and spam protection
- Confirm downloads, PDFs and documents still open correctly
5. Protect your SEO during the move
A migration is one of the easiest times to lose search visibility by accident. Keep page titles, meta descriptions and heading structure in mind from the start, and plan redirects for any URL that changes. A page that moves without a redirect can return a not-found error for visitors and search engines alike.
- Keep valuable URLs unchanged where possible
- Set up 301 redirects for every changed or removed URL
- Keep heading order logical: one main heading per page, then clear subheadings
- Check internal links so they point to the new URLs, not the old ones
- Submit the updated sitemap after launch and check for crawl errors
6. Build, test and launch in stages
Build on a staging copy first, not on the live site. That way the current site keeps working while the new one is tested. Test on real phones as well as on desktop, check every link and button, and read the copy on the live staging site rather than only in the design file, because text often behaves differently at real widths.
- Test on desktop, tablet and mobile
- Check menus, buttons, forms and checkout or booking steps
- Proofread every page, including footers and error pages
- Check page speed and image loading on a slower connection
- Confirm analytics and contact tracking are working before launch
Common XD to WordPress migration mistakes
A few mistakes appear again and again. Designing only for desktop and leaving mobile to chance, forgetting redirects, and launching without testing forms are the most common. Another is treating launch as the finish line: the first weeks after launch are when broken links, missing images and redirect gaps are most likely to surface, so plan a post-launch check as part of the project, not as an afterthought.
If your project is still at the comparison stage, it is worth weighing WordPress against other options too. Our guide to Figma to WordPress conversions covers when WordPress is the stronger choice, and our Figma to Webflow service page is a useful contrast if you are deciding between platforms.
Frequently asked questions
How long does an XD to WordPress migration take?
It depends on the number of pages, the complexity of the design and how much content needs rewriting. A small brochure site moves faster than a large site with custom layouts, forms and integrations. A clear page map and a final design file are the two things that most shorten the timeline.
Will I lose my search rankings when I migrate?
Not if redirects, titles and internal links are handled properly. Rankings are most at risk when URLs change without redirects or when useful content is dropped. Keep the pages that perform, redirect the rest, and check the site after launch.
Can I edit the site myself after the migration?
Yes, that is one of the main reasons to choose WordPress. Once the build uses clear templates and blocks, your team can update text, images and pages without touching code. Ask for a short handover walkthrough so editors know where each section lives.
Final launch checklist
- All pages, links and forms tested on desktop and mobile
- Redirects in place for changed URLs
- Titles, meta descriptions and headings reviewed
- Images compressed with alt text added
- Analytics, tracking and contact forms confirmed working
- A post-launch check scheduled for the days after go-live
An XD to WordPress migration goes smoothly when the design, content and SEO plans are agreed before the build starts. Use this checklist as your brief, and work through it with your developer before launch day. If you would like a free quote for your migration, contact us and tell us about your XD file and your current site.